A couple of weekends ago we were invited by our friends, Kayla and Eric from Turtle Hare Farm, to build an 18′ yurt at the North House Folk School in Grand Marais. Considering that I’m hoping to put a yurt or two on our own property, I was jumping up and down waving both arms at the chance. It also just happened to fall on the weekend prior to my birthday. So happy birthday to me – eek!
It was a four-day build, but we could only stay for the first two days. You know – kids, ducks, chickens, dog, and cat stuff.
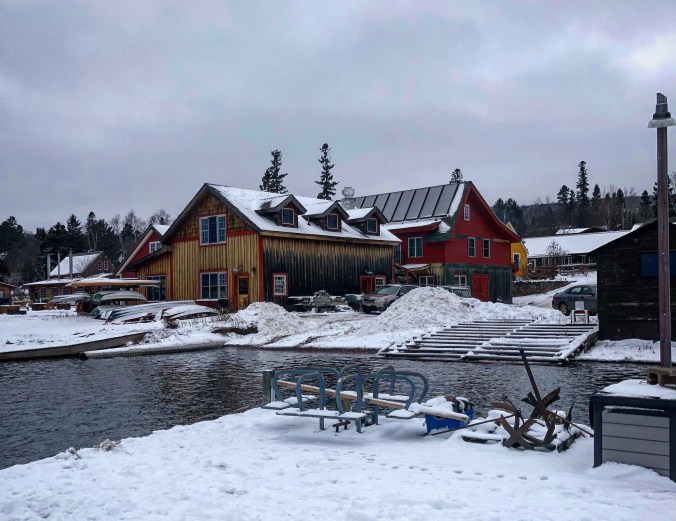
The North House Folk School
First things first, what’s a yurt?
I wasn’t sure of what this was myself until about a year or two ago. It’s basically a semi-permanent, year-round, circular tent. But there’s more history to it than that. Apparently felt-walled yurts were often used by a horse-riding nomadic people in Asia many, many, many, MANY moons ago. You can read more about it here if you’d like.
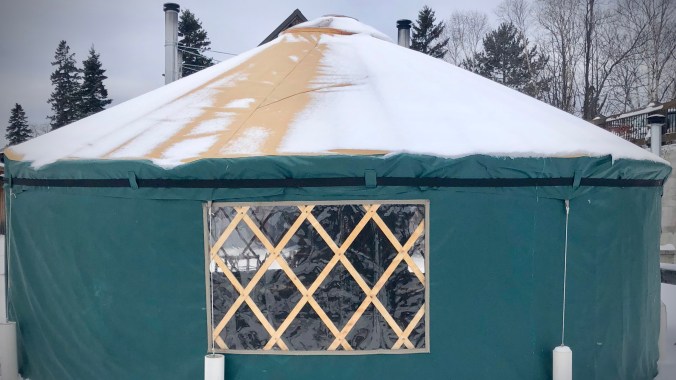
The sample yurt the school had up for us to see. It also had a small heating stove in it.
Now, onto the yurt building with Turtle Hare Farm…
We met our friends at Turtle Hare Farm when we lived in the Afton, MN area. They were our neighbors and they happened to move in, and consequently out, at the same time we did. They largely inspired us when they turned their entire front yard into a market garden (see my previous post for what a market garden is). Then, six months after we moved to 16 acres in Cumberland, WI, they moved to 16 acres in Two Harbors, MN. It does all feel a bit serendipitous doesn’t it? Like, we were totally supposed to meet when we did.

A selfie of us with our instructor Ian (back left) and Eric and Kayla (foreground), taken by Eric
Day 1 – Saturday, December 1, 9 a.m. – 5 p.m.
Nick and I left our house at 4:30 a.m. Saturday morning to make it to class in Grand Marais by 8:30 a.m. for check in. When we got there we met Ian from Creaking Tree Farm, our instructor and fellow market gardener. FYI, Ian and his wife lived in a yurt for nearly five years up North. Super cool, right?
Once introductions were made, we, along with Garrett (Kayla’s brother) and Hannah (Garrett’s girlfriend), and Eric, got to work (Kayla would be joining us later that day).
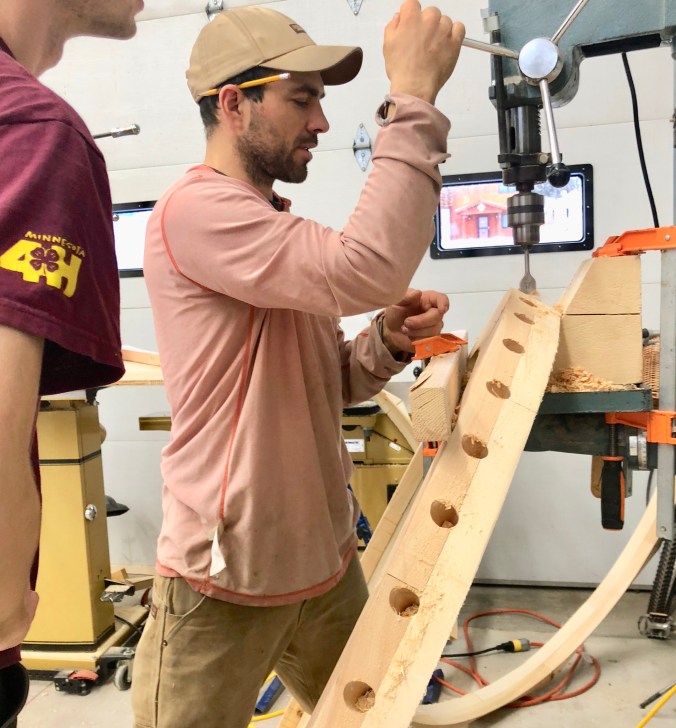
The first thing we did was drill/press holes into the wood that would become the lattice walls. We did that many, many times over.

This is Eric using the drill press to measure and drill holes evenly through for the lattice. We would later tie rope through these holes.
From there we put the wood into a nice hot bath so that we could later bend it into a slight curve for the walls. The wood soaked for the day while we worked on the roof and skylight. Then we wove the wood in a frame to the get that slight round curve.

Soaking the wood in a nice warm bath.

The hot tub – so to speak.
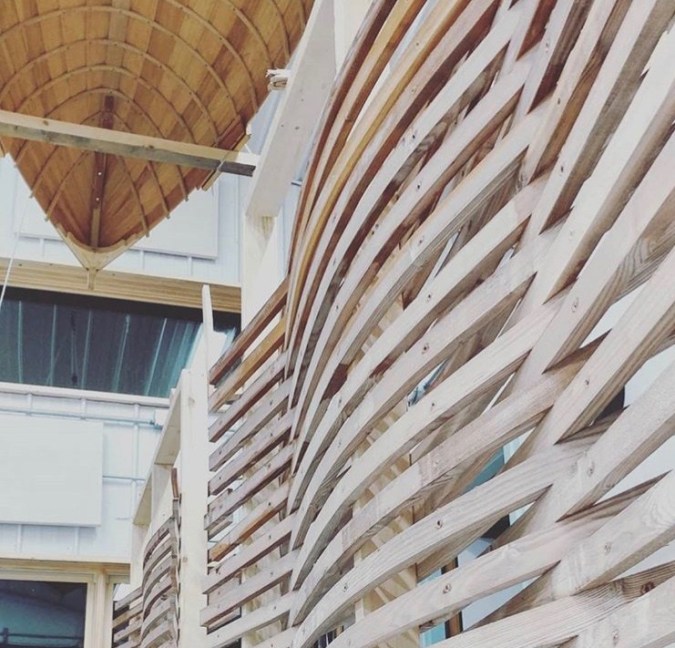
Bending the wood felt like a giant weaving. It was beautiful and really cool to do. Photo credit: Eric Elefson
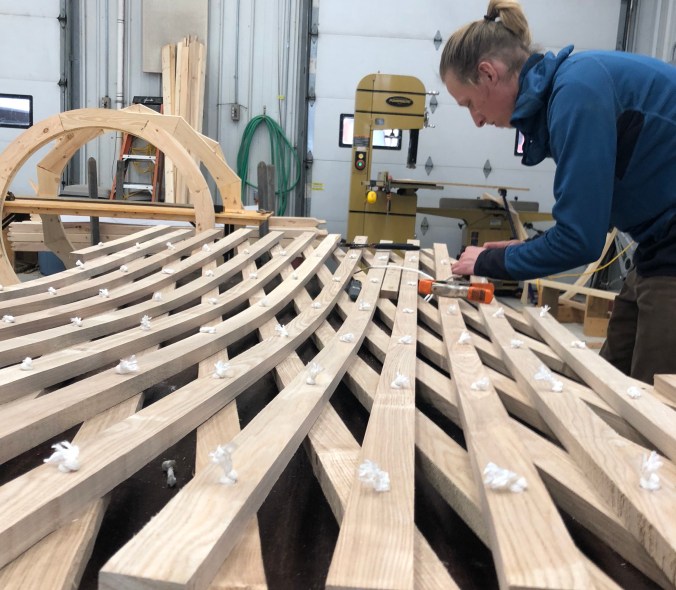
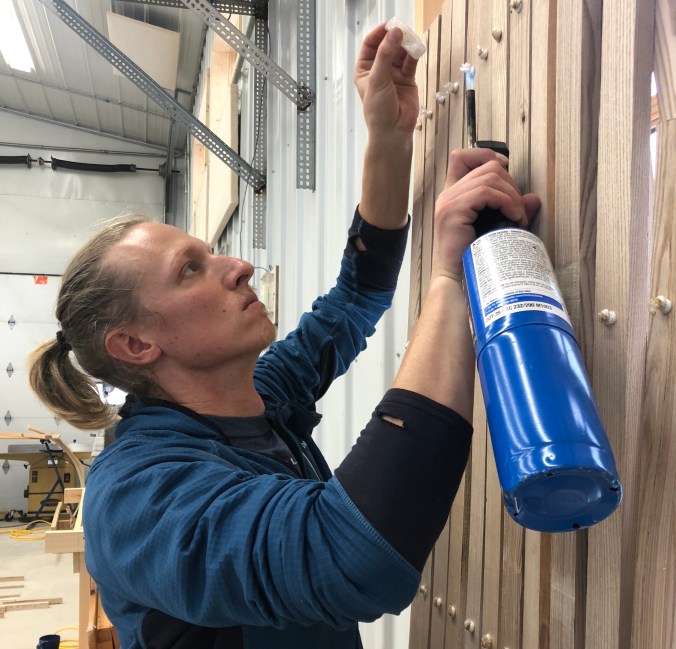
Once we wove the wood lattice then we got to work preparing the wood that would be used to frame in the ceiling, AKA the rafters. This consisted of planing the four edges of the wood so they wouldn’t rub the fabric walls, cutting out notches in one end that would set into a cable, rounding the other end of the wood that would fit into the skylight, and sanding everything down.
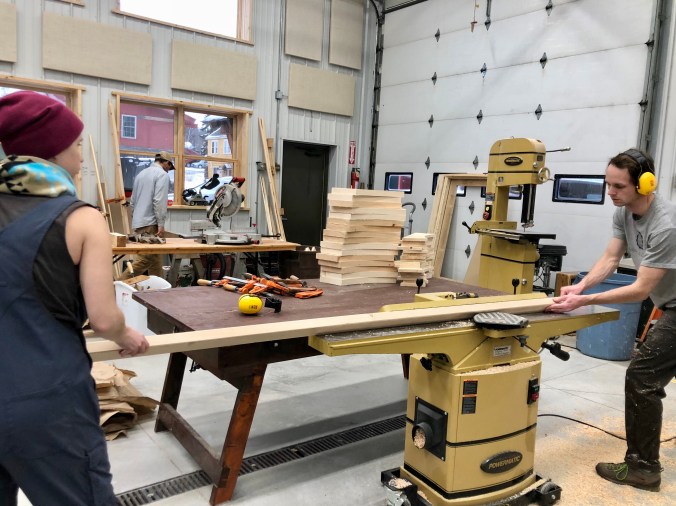
Here Eric and Kayla are planing/sanding all four edges of the wood.

Garrett is cutting out the notches that will fit against the cable and Hannah is sanding them.

Kayla using this thing-a-majig to create a rounded post of sorts.
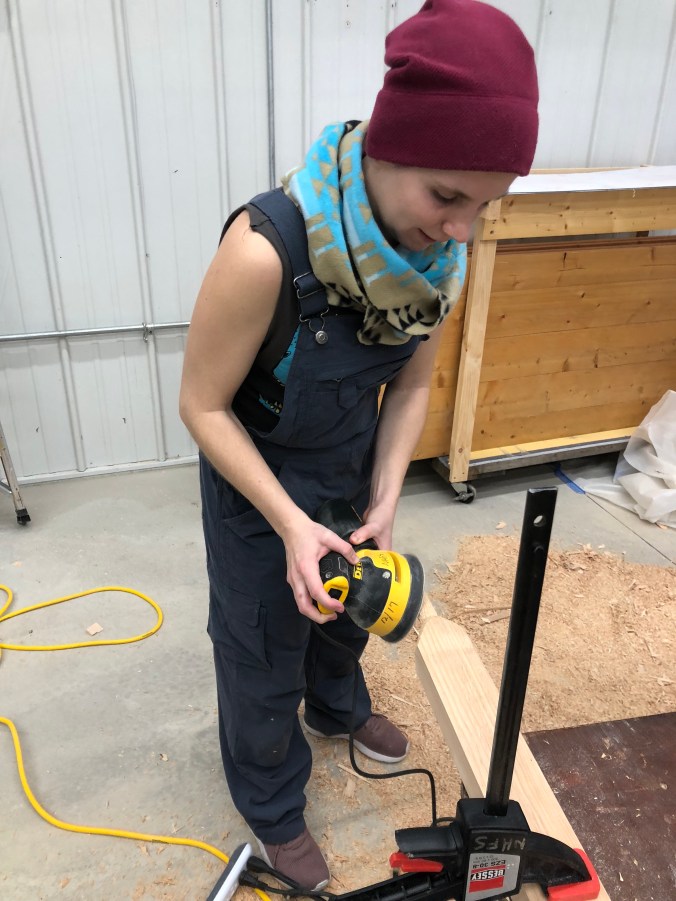
Time to sand all the rough edges down.
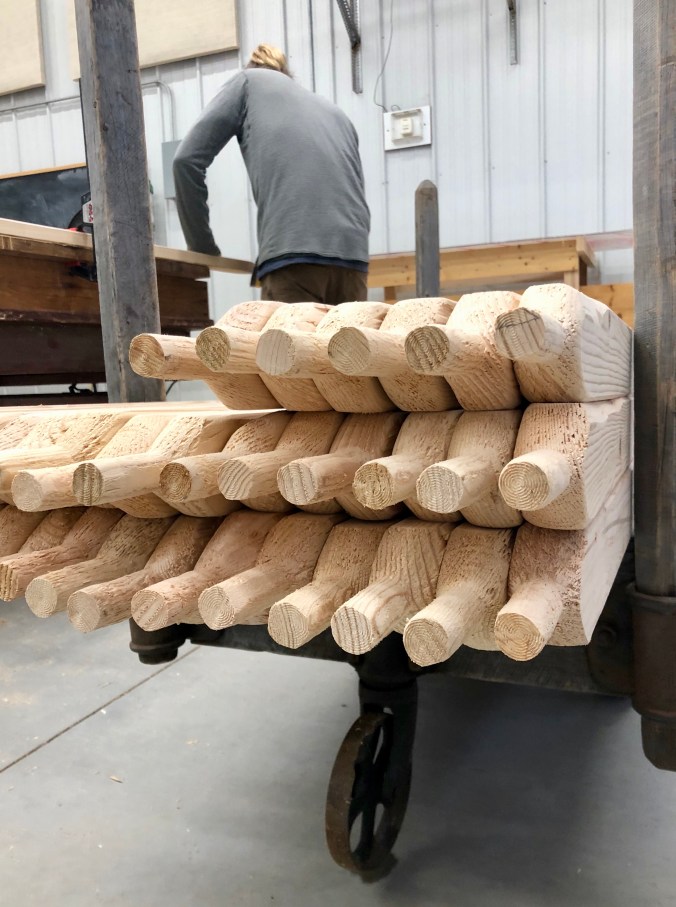
What the rafter posts looked like when all was said and done. Ain’t they a beaut!
Now onto the skylight! This consisted of a lot of tracing patterns onto wood, cutting them out, gluing the pieces together, and team work. We even gathered in a circle for the chorus of kumbaya (haha, JK, but doesn’t it look like it?).

Here we’re actually lining up, gluing, and clamping the cut wood together for the skylight.
Once the pieces for the skylight were glued together, we clamped them and left them for the night to dry.
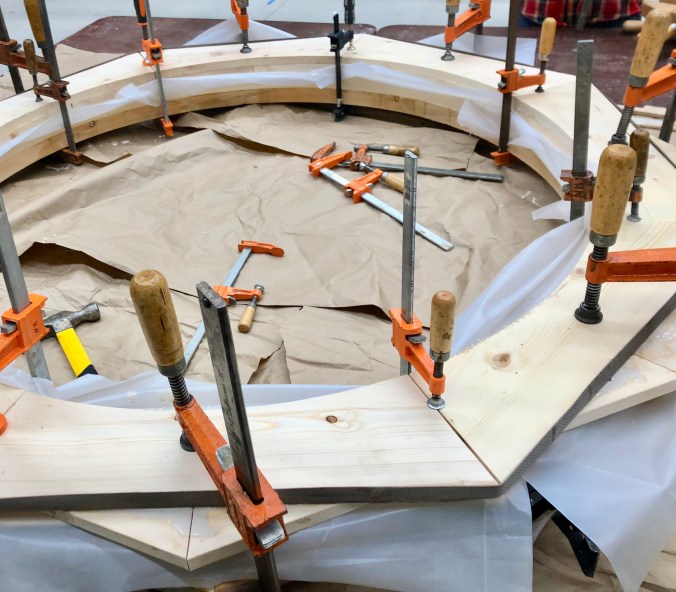
Now we leave it overnight to dry.
Day 2 – Sunday, December 2, 9 a.m. – 5 p.m.
Day 2 started out with tying the lattice boards together to create the slightly curved walls. This consisted of tying, burning, and waxing approximately 700 knots. We had numb, worn fingers by the end. It was oddly satisfying and took most of the day.
We were coupled off and assigned a section of the wall. It felt a bit like couples’ therapy. I liked it.
Nick tying the lattice wall together. Each knot probably took about 1-2 minutes to complete. Although we did get faster with each passing hour.
Once all the knots were tied we went through with a blow torch and wax block to secure the knots. I also liked this part; you know…fire and stuff.
While we were tying 700 knots, Ian was busy finishing up the skylight by cutting off the points and rounding the outer edge. He also drilled large holes to fit the rafters we cut and sanded the previous day.

The one in the foreground is after the edges were cut and rounded. The one in the background is what it looked like before.
Ian is drilling the holes we’ll put the rafter posts into.
While finishing touches were being made to the skylight and lattice walls, Kayla and I started to cut the Velcro and fabric that would be used for the walls.
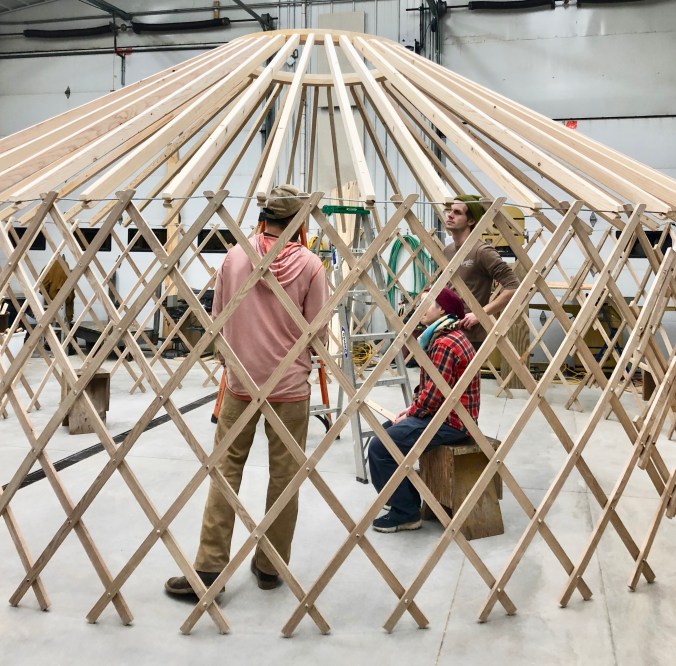
Then we got to assemble the frame!

The lattice walls are up!

Now to string the cable.

Eric and Kayla fitting the rafter posts onto the cable. The notched end slid over the cable and the post end fit into the skylight.
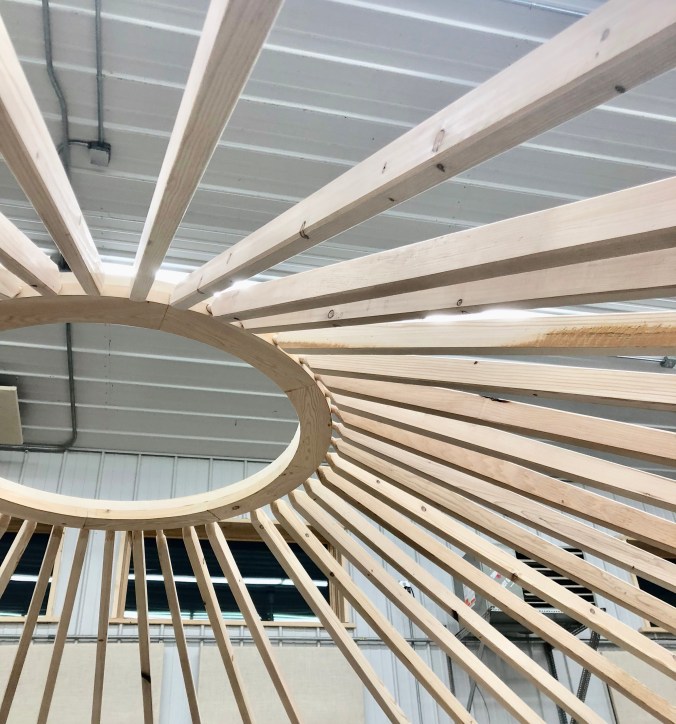
They skylight and rafters once assembled.
Once the frame was assembled the work day was over and it was time for us to jet and start the nearly 4-hour trek home. The whole way home we talked about what an amazing experience the weekend had been with some really cool people and how we’d be back soon to hopefully build our own yurt.
Enjoying all the day’s efforts inside the yurt.
Kayla and Eric would stay another two days to finish the yurt, then they’d disassemble it, load it in their truck, and bring it home to reassemble in the spring in time to open their farm stay. To see the final product, follow along with Eric and Kayla on Instagram at @ericeire and @turtleharefarm
Peace!
