Wowza has it been awhile since I last wrote. I’ve started and stopped many times. The last few months have been a fury of emotions as I come to the tail end (hopefully) of my 2-year existential crisis (What am I doing? Why? Is it enough? Does it matter? And does it align with my evolving values?). Now I’m ready to rock and roll. Let the pendulum swing baby because this life that I want to live is about to take shape.
First things first — what have we been doing on the farm this summer?
Ready for it? Drum roll please….(dum-dum-dum)…we’ve been building a market garden! Man oh man has it been a lot of work. I’m super pumped to share with you what we’ve done so far, what we’re learning, and why we’re doing it.
“So…for a friend who’s asking, what is a market garden?”
I’m super glad your “friend” asked because I’m dying to tell you them.
Now, it’s possible that if your “friend” googled “market garden” they may get a slightly different answer, but in a nutshell, this is how I understand the term (remember, I’m learning too). A market garden can vary in size, many being anywhere from an 1/8 of an acre to 7 acres or larger. The crops are typically a variety of veggies (or flowers) and sold direct to consumers through a farmer’s market, farm stand, CSA, and even restaurants.
Apparently more goes into a market garden than meets the eye, which is why we’re a bit behind schedule and why Nick’s tanned and toned bod is looking so good — but I digress. You’ll just have to see it for yourself ;). Anyway, keeping it as brief as possible (sort of), here are the steps, with photos, we’ve taken so far in building our market garden.
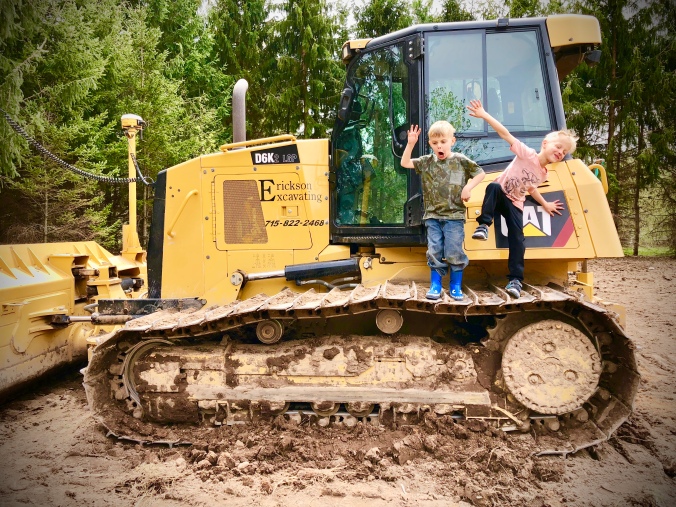
Step 1: Preparing the land — tree roots and bulldozers
As you may remember from a previous post, our property isn’t ideal for farming, even on a small scale. It’s heavily wooded and very hilly. So, before we could get started with the garden, we had to cut down about 40 trees, pull the roots and level the ground. Nick cut the trees then once the ground thawed we hired people with big equipment to pull out the roots and start leveling.
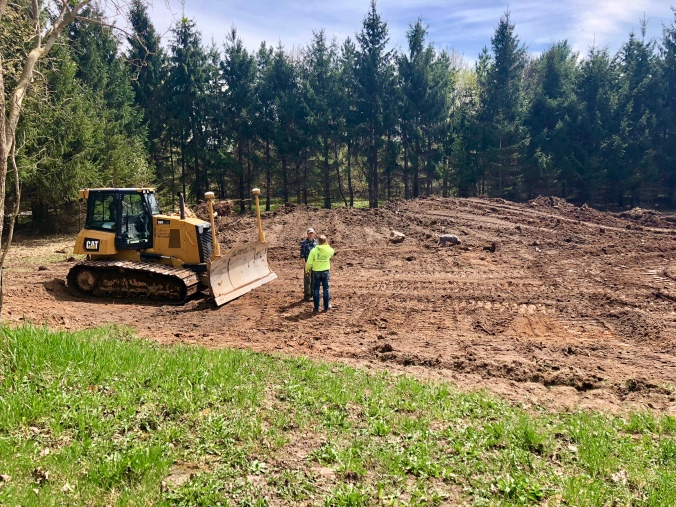
Starting the leveling
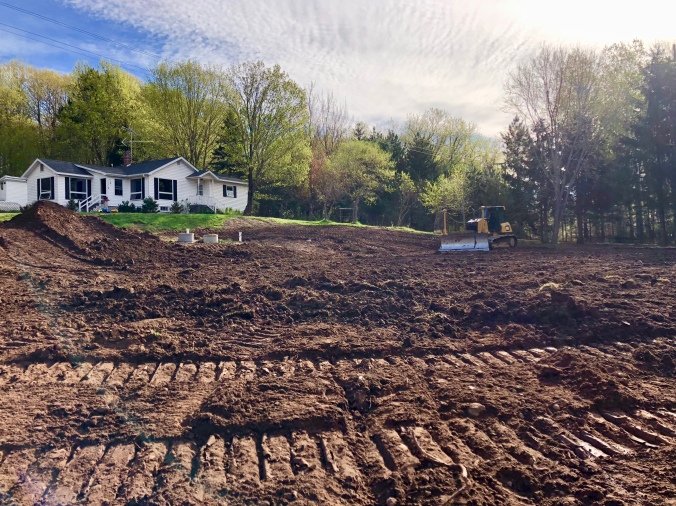
Almost done!
Step 2: Picking rock — dollars and buckets
Oh the amount of rock that had to be picked out of the 1/2 acre dirt pit that would soon become a garden. And it just keeps coming up! Nick got creative and started paying the boys $1 for every 5-gallon bucket they filled with rock (not worth it in my opinion, but the kids took to it like a fly to poop).
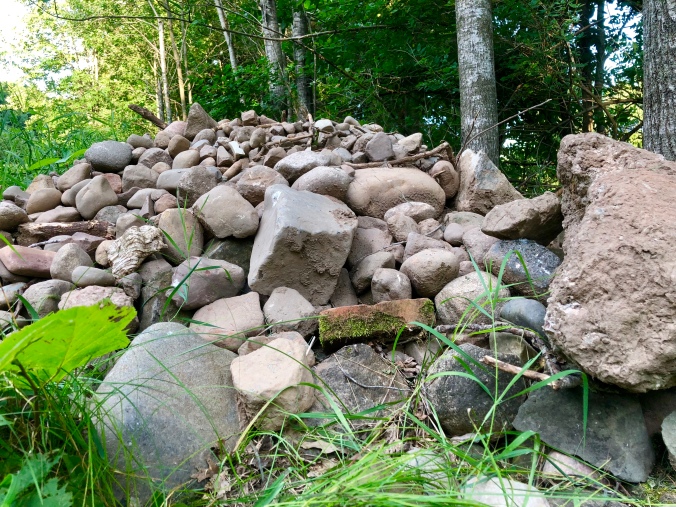
Rock pile from picking rock
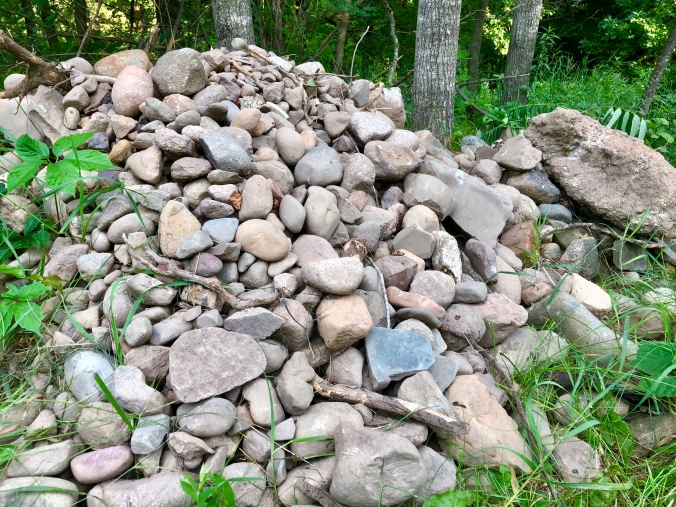
Rock pile from picking rock
Step 3: Testing the soil — calf poop and compost
This is something we should have done prior to buying the property, but alas we didn’t. Live and learn I guess. And that’s what we’re doing — learning by living. We don’t really know what we’re doing. In theory, yes, but in practice it’s a whole different ball game.
The soil test consisted of filling a few containers with dirt and sending them out to get tested by experts. Based on the results we needed to add a dash of this and a dollop of that to create the perfect recipe for growing nutrient rich veggies. So we add crushed limestone and compost to start.
Some day we hope to make our own organic compost, but in the meantime, we’re dependent on others. Turns out compost is hard to find around here — especially the amount we needed to get started (24 yards). In the end we purchased calf poop from a nearby farmer. Zero waste and supporting local. Now that’s what I’m talking about!
Step 4: Making the beds — playtime and tractors
Now, this is the step that got Nick all sorts of jacked. He finally got to play with his own big equipment (Ew gross! Not that!), a walk-behind tractor.
For our market garden we’re using a no-till permanent bed system. This is because we have a large amount of clay in our soil which can water log the crops if there’s nowhere for the water to flow. So, using a permanent bed system allows the rainwater to run off the beds in small trenches that runs down into the pond or slowly gets absorbed into the ground. There’s more to it than that, but I usually tune Nick out at that point. It is interesting though — REALLY!
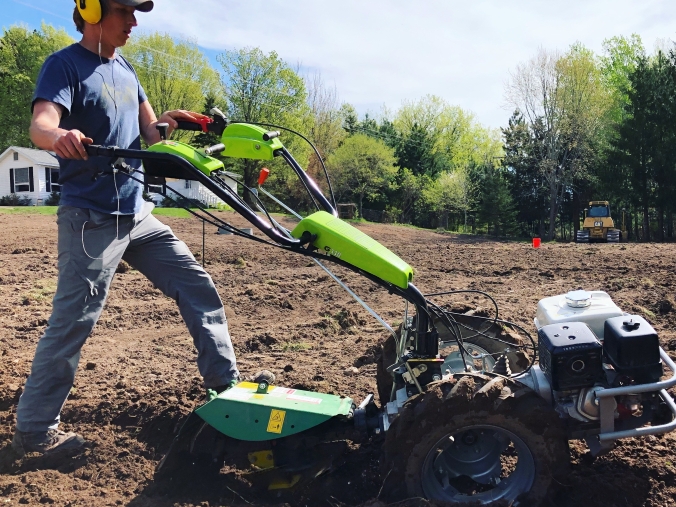
Nick playing with his big equipment (AKA walk-behind tractor)

After all the beds were made
Step 5: Covering the beds — weeds and waiting
We’ve decided that it’s important for us to be responsible and respectable stewards of the land and all living things, which is why we’re choosing not to use chemicals, and also why there’s clover all over our yard. For that reason, instead of spraying to kill our weeds, we covered the beds with a black tarp. Without sunlight and with the intense heat, over time, the weeds and grass all die off. We’ve had our garden beds tarped for the last couple of months (minus two beds for test crops). And it appears to be working!
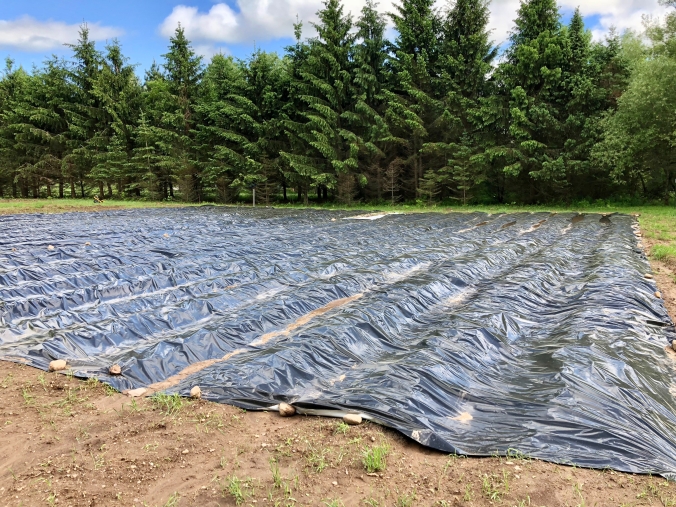
The garden beds covered in black tarp to kill the weeds and grass underneath
Step 5: Building a greenhouse — sledge hammers and metal posts
This isn’t done yet, but we (Nick) did get the frame of the greenhouse up. And let me tell you, watching Nick work that sledge hammer has done wonders for our marriage. I’m telling you, that I just can’t tell you what that does to me.
Moving on…
We bought the frame of the greenhouse from a friend of a friend. The next steps, so Nick tells me, are to level the inside of the greenhouse, put the ends on, and then cover it all in plastic walls. There’s a few other things that’ll go into it too, like a fan, possibly insulation, etc. The greenhouse will be used in addition to the outdoor garden beds.
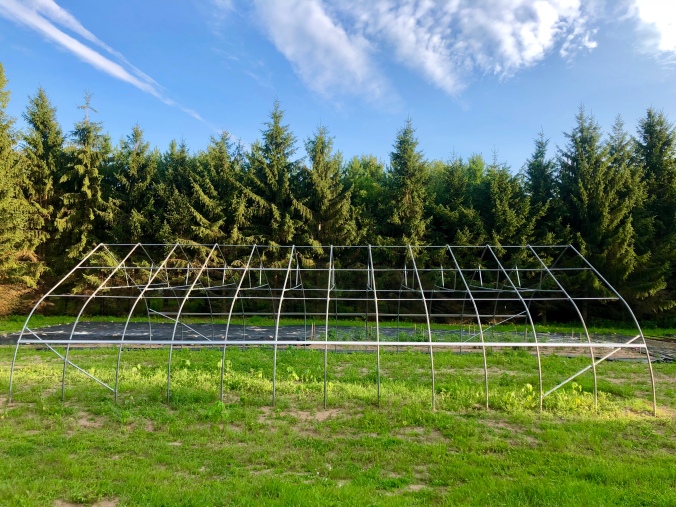
Greenhouse skeleton. This will be used to grow cucumbers and tomatoes.
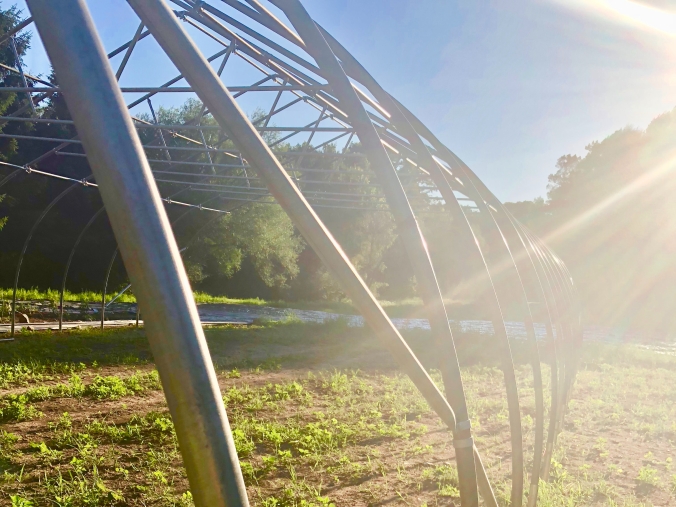
Evening close-up of the greenhouse
Step 6: Growing test crops — baby roots and lettuces
We’ve reluctantly come to terms that we won’t get to a point of selling veggies this year. Everything is taking longer and has a bigger learning curve than we anticipated. That being said, we’re using this year as one of learning and are taking the opportunity to grow a few test crops, including carrots, radishes, beets and three different types of greens. They were planted about two weeks ago. Now we wait and watch and learn.
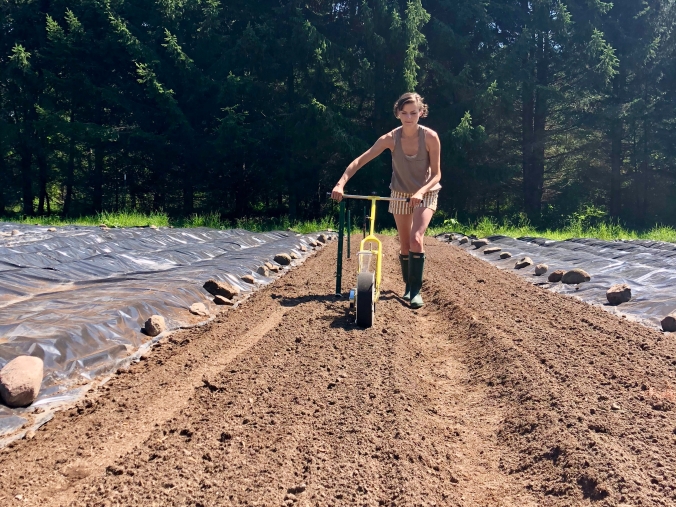
Seeding the garden beds for our test crops
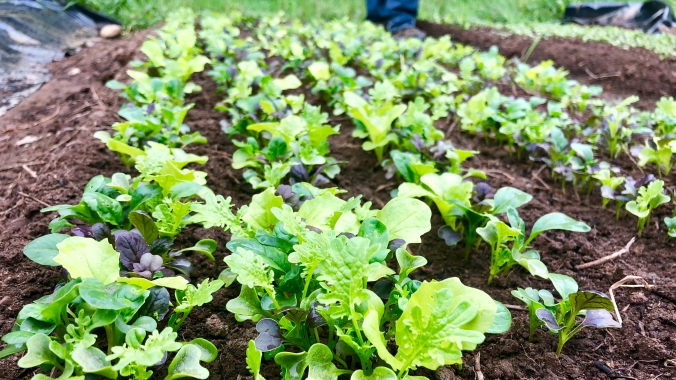
Greens mix
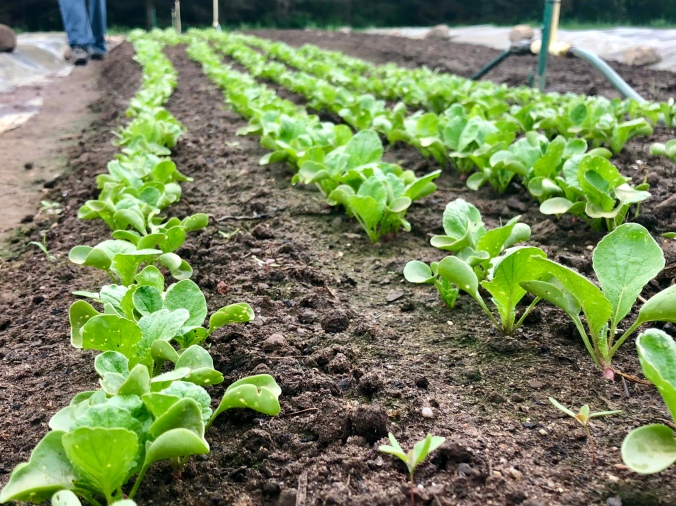
Radishes nearly two weeks in

Radishes a few days in
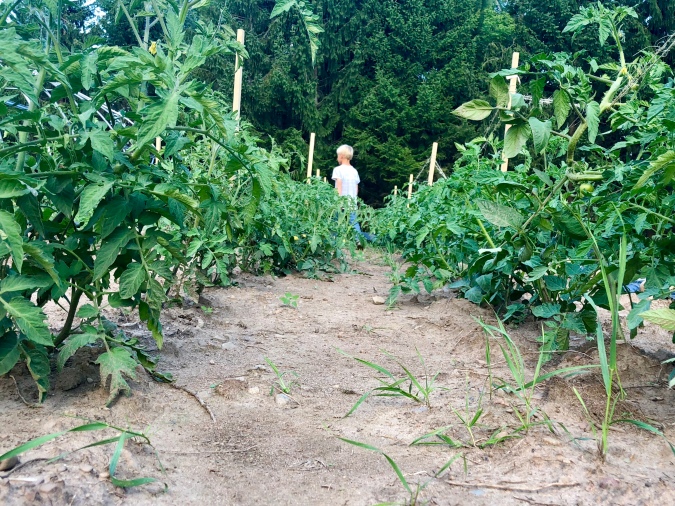
Rows of tomatoes
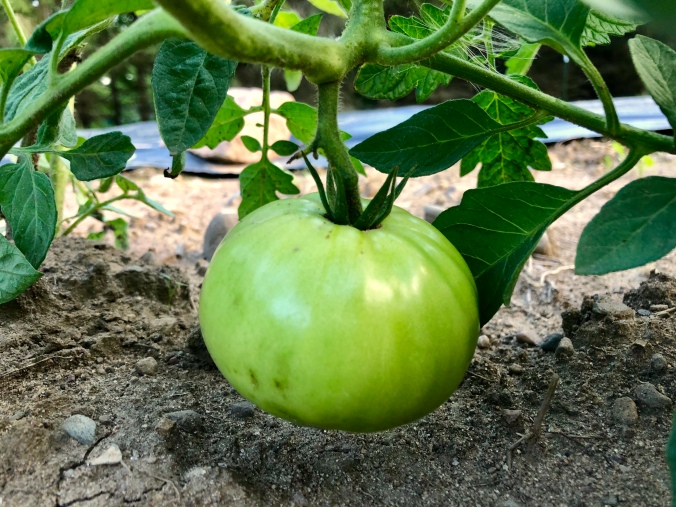
Tomato
Step 7: Finding our market — farmers markets and co-ops
Deciding to wait a year to start selling our veggies has allowed us the opportunity and time we need to find our customers, know our competitors, and determine our niche. We’re doing that by traveling to farmers markets, finding co-ops, and talking to people. This is where I get to shine. Nick shines everywhere else.
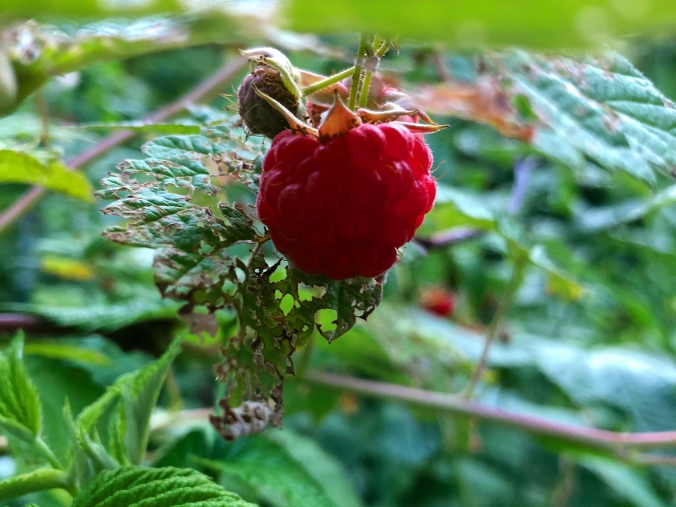
I don’t have any pictures of the markets so this raspberry from our apple orchard will have to suffice
As in life, nothing is going quite as expected. Sometimes it’s better or easier and sometimes it’s worse or harder. That’s when we tell each other and ourselves, that this, the painful learning and growing and joy of going after a dream, is the adventure we’re after.
